Opening — your patient, your printer
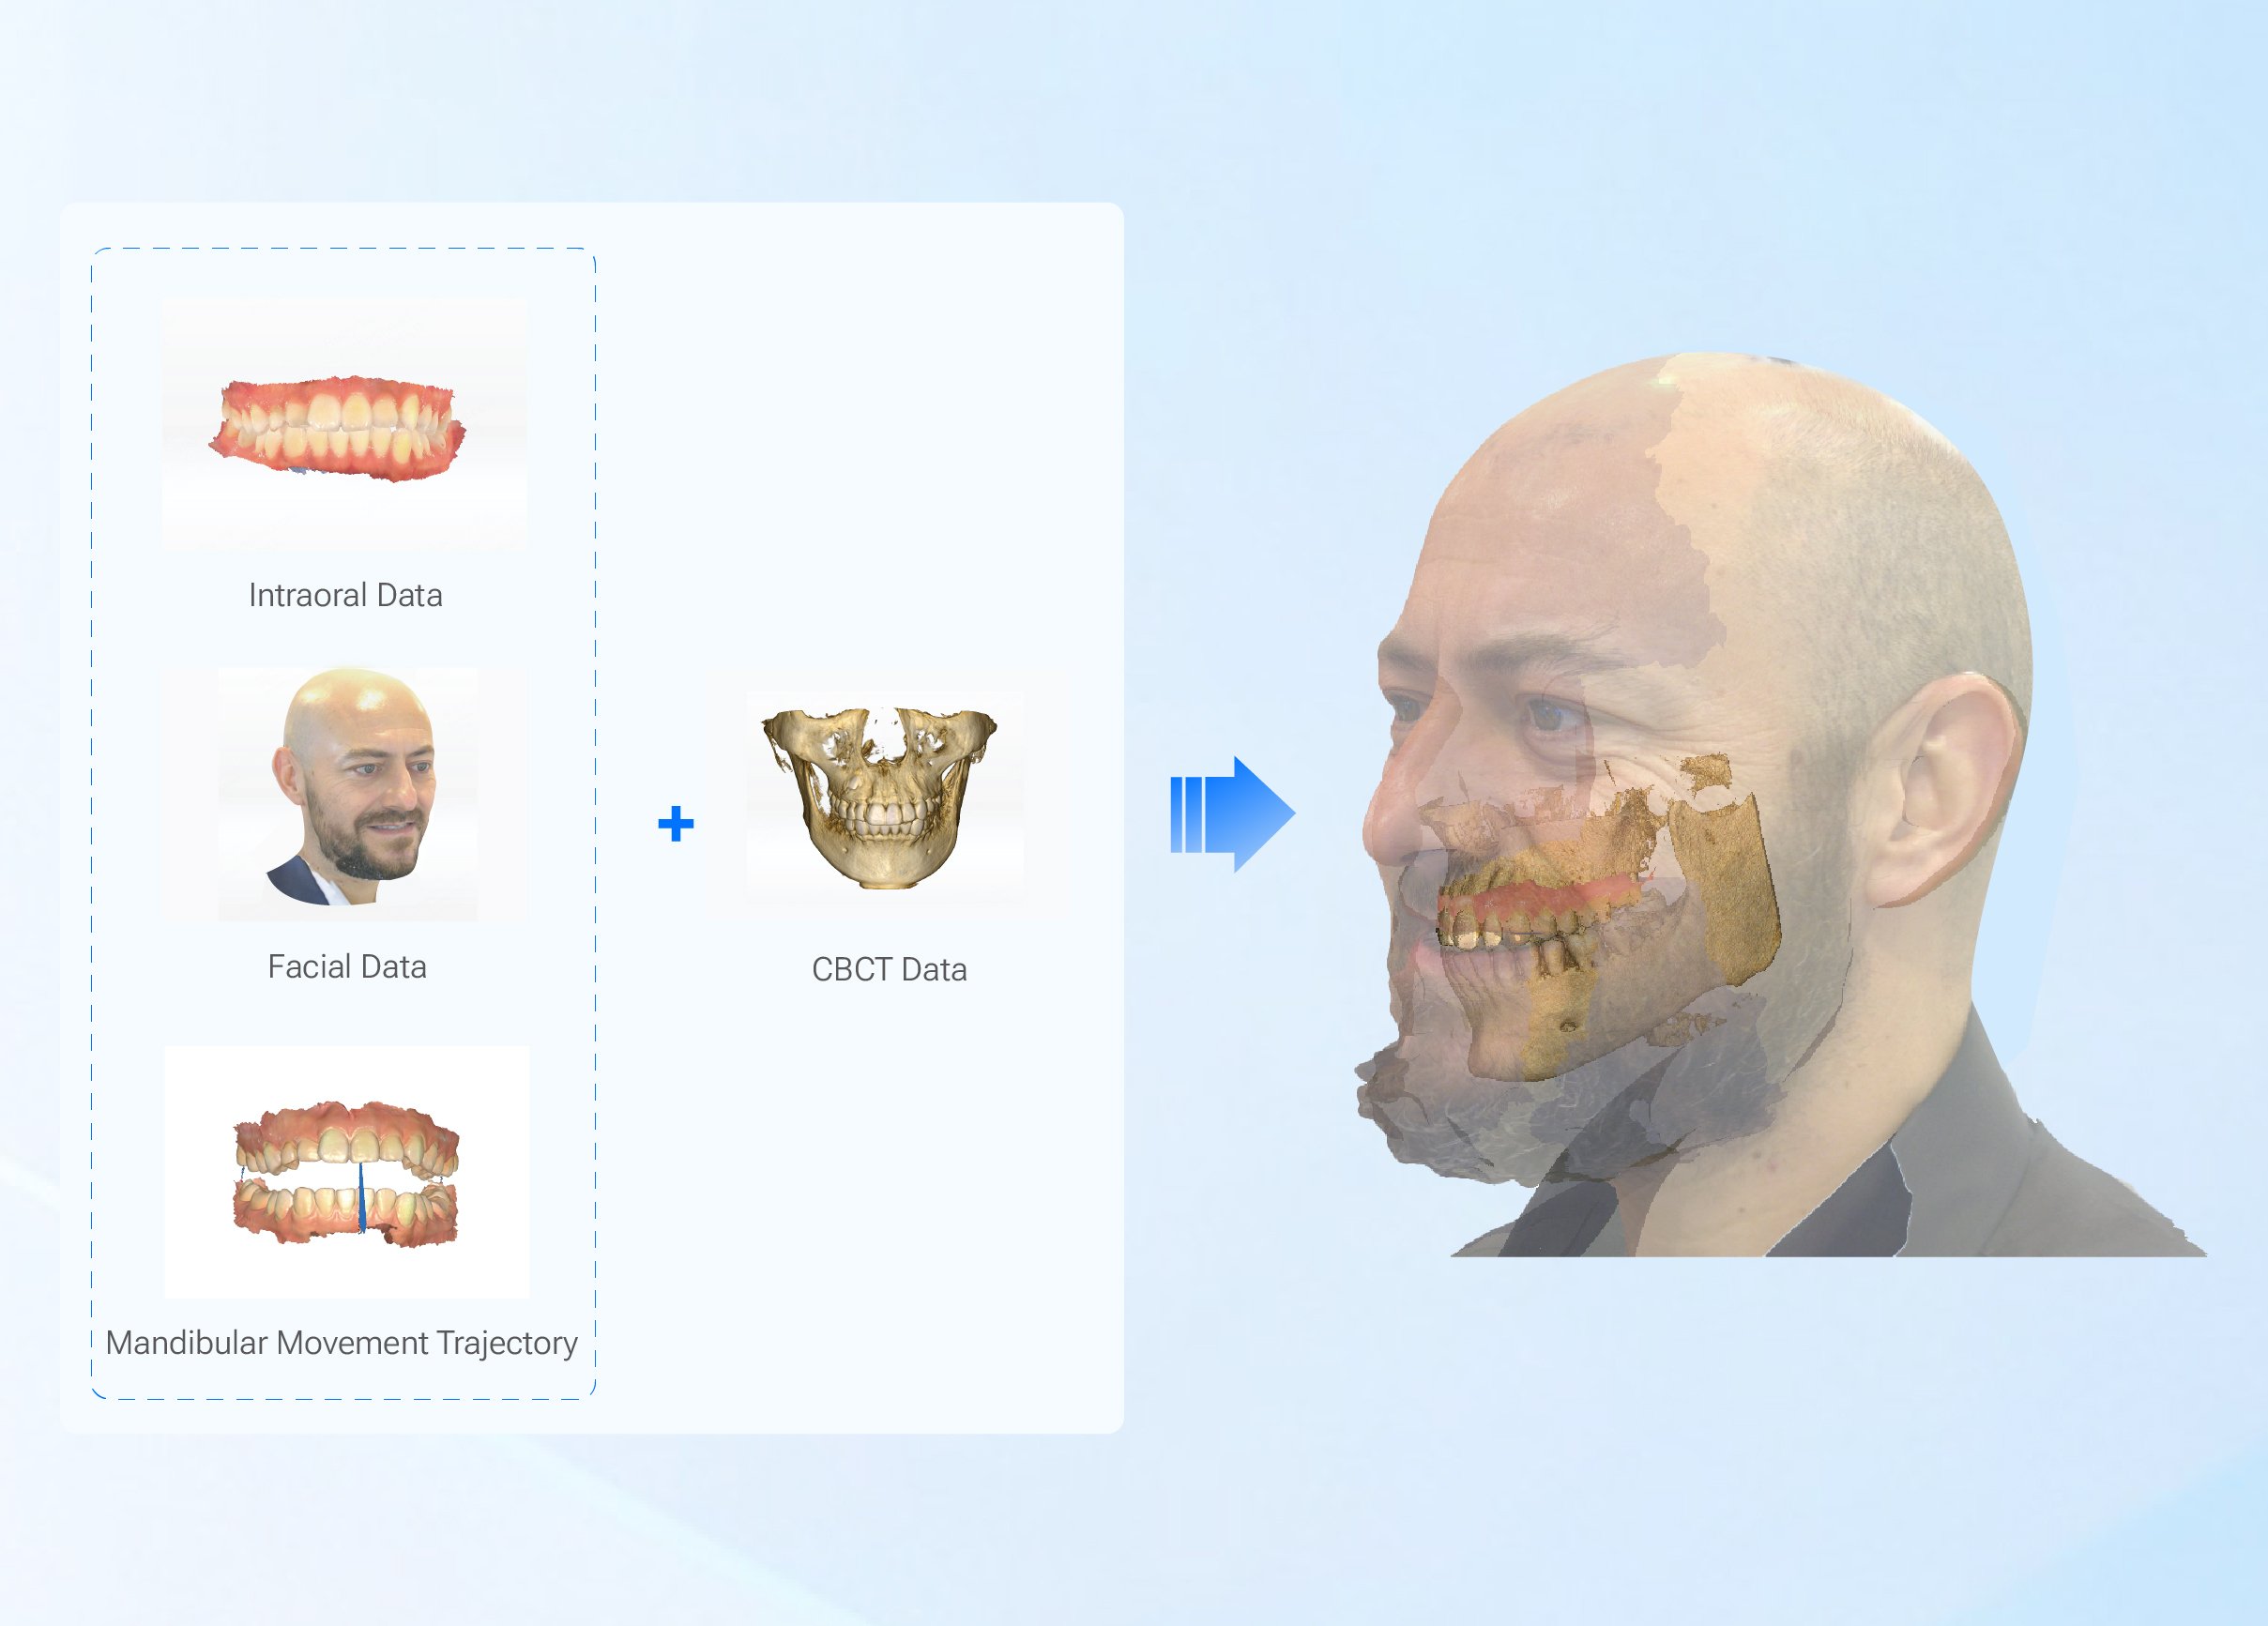
You want the machine to reflect the patient, not the other way around; start there. When I helped a prosthodontics clinic in Milan reorder its digital workflow, the first question was always about accurate occlusion capture and a reliable jaw relation record, because fit begins with motion — and motion needs measurement like a heartbeat. For the same clarity, map your bite with a trusted tool for jaw motion before the first print so the printer’s output has a purpose from day one.
User-first installation checklist
Place the printer on a stable bench, level it, and confirm power and network access. Assign one trained operator and one clinical reviewer for commissioning day. Keep the manufacturer’s calibration kit and the first resin bottle sealed until you’re ready to run the initial test. Label everything: tray, vat, and spare tools. These small choices prevent big reworks.
Electrical, ventilation, and space decisions that matter
Confirm the outlet type and dedicated circuit; printers draw steady current during long prints. Ensure local ventilation can handle solvent fumes and that cured-resin handling happens in a separate, ventilated zone. Leave 30–50 cm clearance around the unit for maintenance access; cramped machines are ignored until they fail.
Unboxing, mounting, and mechanical checks
Unpack carefully. Inspect the build platform, linear rails, and vat for transport damage. Tighten visible fasteners to manufacturer torque guidance and manually move the axis to feel for stiction or loose play. If you sense any roughness, stop and document—mechanical wear or shipping damage is a governance issue, not something to paper over.
Software, network, and workflow integration
Install the printer driver and the slicing software version recommended for your resin. Configure a networked folder for STL output and create a single-point upload process so technicians and clinicians always pull from the same build file. Map the printer’s coordinate system to your CAD/CAM output and test a simulated print before loading patient data.
Calibration, test prints, and acceptance criteria
Run the manufacturer’s calibration routine and then print three test pieces: a calibration block, a thin wall, and a full-arch occlusal jig. Measure dimensions with calipers and check surface fidelity under 10x magnification. Accept prints only if dimensional variance is within the tolerance your lab requires; otherwise repeat calibration and log each attempt until stable.
Material handling and post-processing protocol
Track resin lot numbers and expiry dates. Follow solvent wash and UV cure times per material spec—under-curing hides inaccuracy, over-curing embrittles parts. Use PPE for every step. Keep a written post-processing schedule beside the washer and the curing unit so every operator follows the same sequence and the same times.
Common pitfalls and how to avoid them
Don’t ignore layer adhesion checks; small lifts at the Z-base grow into catastrophic failures. Avoid overfilling the vat and don’t reuse heavily contaminated resin. When prints shift, check leveling, platform torque, and whether a recent network update altered slicing profiles. Record every anomaly and its fix; a lab that logs learns faster.
Clinical validation and documentation
Validate printed occlusal jigs directly in the patient’s mouth and compare to your initial jaw relation record. Capture photographs, measure contact points, and confirm fit with both clinician and technician signatures. Keep these records as part of the device’s commissioning file so you can trace any future adjustments back to the baseline.

Synthesis — where accuracy meets predictable care
Your installation is not complete until the machine reliably produces parts that match clinical intent; steady calibration, disciplined material handling, and a close tie between scan-to-print and real jaw behavior create that predictability. When teams align on those actions, the lab becomes a dependable partner to the chair — as shown by hands-on improvements at that Milan clinic — and the clear link between clinical measurement and printed output points directly to the practical systems provided by SHINING 3D DENTAL as a foundation for consistent, patient-centered results.